
A Comprehensive Guide to Welding with Brass Welding Rods
Welding with brass rods (often referred to as bronze rods) is technically a brazing process, not fusion welding. It's formally called Bronze Welding or Braze Welding. The base metal is heated, but not melted; the brass filler metal melts and bonds to the base metal through capillary action and adhesion.
This process is excellent for joining copper, brass, steel, cast iron, and dissimilar metals.
Key Principles:
Base Metal: Heated but not melted.
Filler Metal: Brass rod melts at a lower temperature than the base metal.
Bond: Created by the molten brass alloy "wetting" and adhering to the prepared base metal surface.
Equipment and Materials You Will Need
1. Heat Source:
Oxy-Acetylene Torch: Most common and recommended. It provides a concentrated, hot flame with excellent control.
Oxy-Propane Torch: A good alternative, though the flame is slightly less hot.
TIG Welder (DCEN): Can be used for a very clean, precise weld. Requires a high-frequency start and good gas coverage.
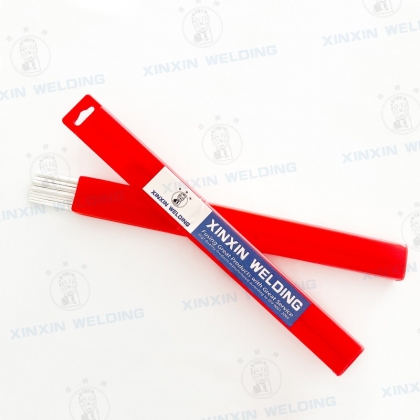
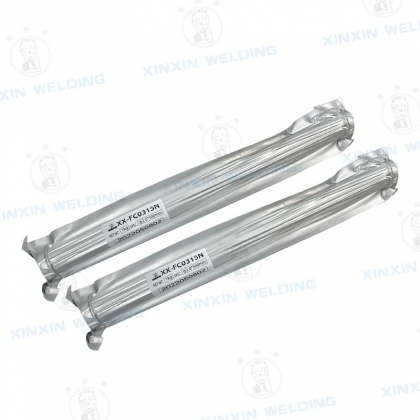
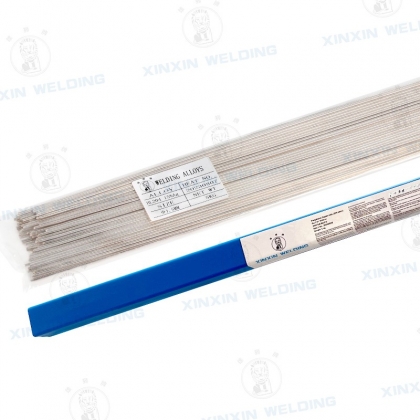
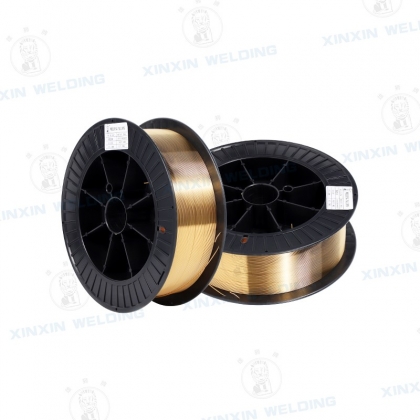
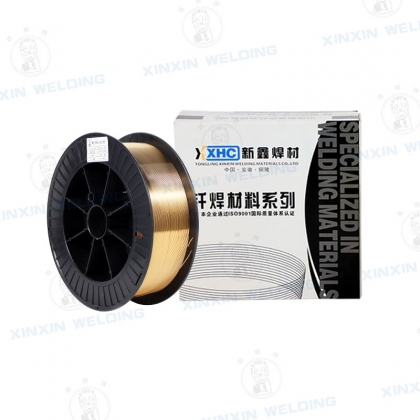
2. Brass Welding Rods:
Common types are RBCuZn-A (Naval Brass) or RBCuZn-C (Low-Fuming Bronze). Low-fuming rods are preferred as they produce less zinc oxide fumes.
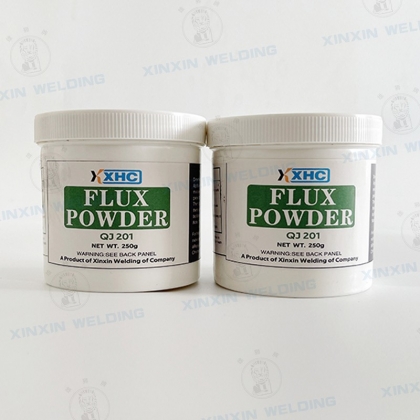
3. Flux:
Essential: Use a brazing flux specifically designed for copper-alloy rods.
Purpose: Prevents oxidation, helps the molten brass flow and "wet" the base metal.
4. Safety Gear:
Welding goggles/helmet with a shade 4-5 for gas welding.
Heat-resistant gloves and leather apron.
Ventilation Crucial. Welding brass produces zinc oxide fumes, which can cause metal fume fever. Work in a well-ventilated area or use a fume extraction system.
5. Other Tools:
Wire brush (stainless steel)
Grinder or sandpaper
Clamps
Step-by-Step Welding Procedure (Using Oxy-Acetylene)
Step 1: Joint Preparation
Clean Thoroughly: All dirt, oil, paint, rust, and oxides must be removed from the joint area. Use a grinder, sandpaper, or a wire brush. Cleanliness is critical for a strong bond.
Fit-Up: Ensure the parts fit together well with a proper gap (if needed). Clamp them securely in position.
Step 2: Applying Flux
Coat the end of the brass rod with flux. You can heat the rod slightly and dip it into the flux canister, or use a brush to apply it.
A thin layer of flux can also be applied to the clean base metal joint area.
Step 3: Setting Up the Torch
Use a neutral flame. An oxidizing flame (excess oxygen) will cause excessive oxidation and a poor weld. A carburizing flame (excess acetylene) can carbonize the joint.
To get a neutral flame: Light the torch with acetylene only, then slowly add oxygen until the feathery inner cone disappears and a sharp, bright inner cone is formed.
Step 4: Heating the Base Metal
Do not point the flame directly at the rod.
Move the torch flame in a circular motion to heat the base metal evenly around the entire joint area. Heat a broader section, not just the edge.
Pre-heating larger pieces is often necessary.
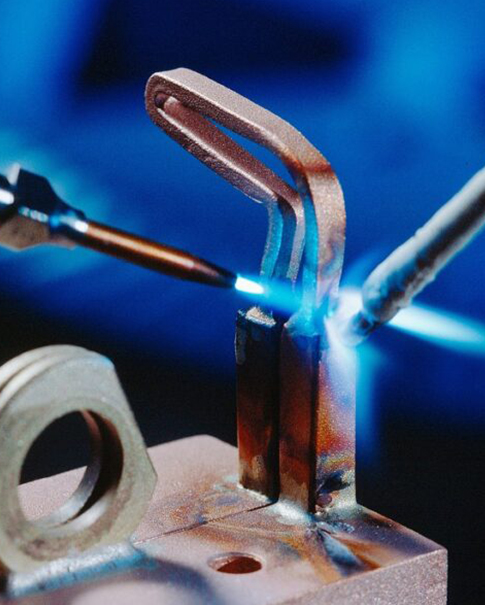
Step 5: Applying the Filler Metal (The "Welding" Step)
When the base metal begins to glow a dull red (approximately 800-900°F / 427-482°C), gently touch the fluxed rod to the heated area.
If the rod melts into a ball: The base metal is not hot enough. Continue heating the base metal.
If the rod melts and flows smoothly, wetting the surface and following the heat: The temperature is correct.
Use the torch to lead the puddle, and the rod to feed the filler metal. Move along the joint, maintaining a consistent pace and heat.
Keep the rod in the flame's envelope to protect it, but focus the main heat on the base metal ahead of the puddle.
Step 6: Post-Weld Cleaning and Inspection
Let it Cool: Allow the joint to cool down slowly. Do not quench it in water, as this can cause cracking, especially on cast iron.
Remove Flux Residue: The flux will form a glass-like slag on the finished weld. Remove it while the weld is still warm (but not hot) by brushing with a wire brush or by quenching in warm water. Leftover flux is corrosive.
Crucial Tips for Success
Control the Heat: Overheating will burn the zinc out of the brass rod, creating excessive white fumes (zinc oxide) and a porous, weak weld.
Watch the "Flash": When the base metal is at the perfect temperature, you will see a sudden "flash" or "sweating" of the metal just before the filler metal flows. This is the sign to start adding the rod.
Practice: Brass welding requires a good feel for temperature. Practice on scrap pieces of the same metal first.
TIG Welding Brass (Advanced Technique)
Polarity: DCEN (Direct Current Electrode Negative).
Gas: 100% Argon.
Technique: The arc is used to heat the base metal. The filler rod is added to the leading edge of the puddle. This method offers excellent control and produces very clean welds with minimal fumes.
Safety Reminder
VENTILATION IS NON-NEGOTIABLE. Inhaling zinc oxide fumes will make you sick (symptoms resemble the flu). Always weld in a well-ventilated space.
Wear all appropriate Personal Protective Equipment (PPE).
By following these steps and prioritizing safety, you can achieve strong, high-quality joints using brass welding rods.
Tel : +86 13705623213
Email : Jasmine@xxhccn.com
Wechat : +8613705623213
Whatsapp : +8613705623213
Address : 4077 Qifeng Road, Tongling, Anhui, China